Webinar with EY: Data Insights from Virtual Events

Virtual Events 2.0: Responsive Tactics to MarComms Strategy:
Glisser enables you to broadcast a stream (host a one-way stream using Vimeo, Youtube, or others) or host a video conference (a two-way stream ideal for breakout sessions), below is our guide on what to tell your presenter when using Glisser.
Below are the steps a speaker should take to join a session, detailed steps, best practices and additional information are outlined further down.
As all speakers and moderators will be on the same moderator panel, it’s crucial to establish a few important rules for the speakers to follow. The following is what to tell your presenter for the best experience:
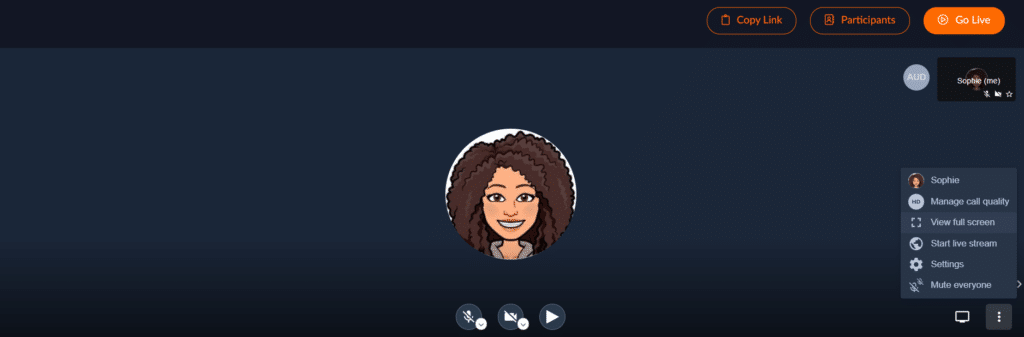
The name will default to the guest account email/name when they sign in. To change this there are two ways to do this which are listed below in detail. Here is what to tell your presenter to change their display name:
Method A: Double click on the speakers screen name as shown below, then type in the desired display name.
Method B: Hover over the bottom right area of the screen and three dots will appear, if you click on that it will bring up a menu. Click on the first line, which will show their gravatar name and initials. They should then enter their name as they want it displayed and their gravatar email. They can also adjust their device settings here if desired.

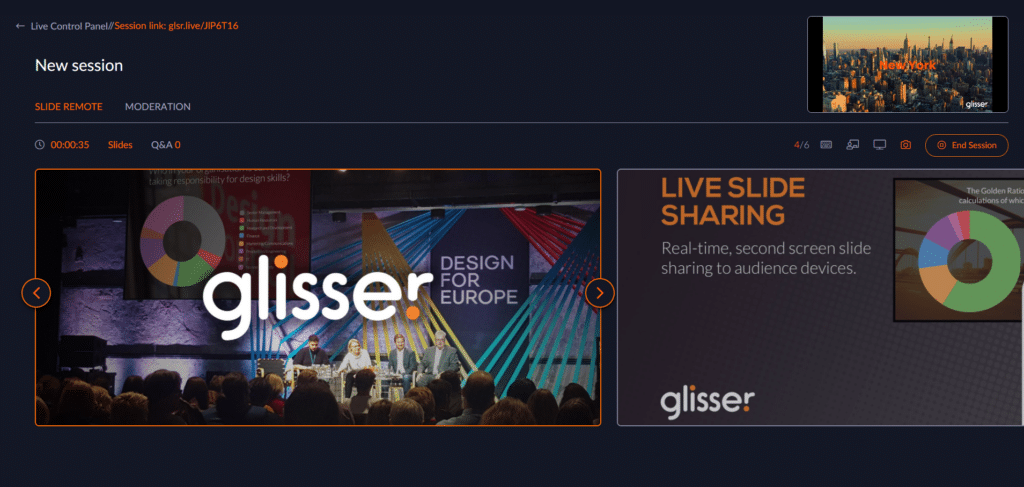
Here are the symbols displayed in the live control panel and what they do:
A – Keyboard Help: This symbol will display the hotkeys which can be used when presenting. You must click on this a second time to take the hotkeys down.
B – Lead View: This symbol will open the lead view in a second tab.
C – Projector View: This symbol will open up the projector view in a second tab.
D – Stream Overlay Position: This symbol will change the stream overlay position, therefore, rearranging your camera icon so that it is placed in a suitable position for yourself.
E – Live Control Link: This symbol allows you to copy the live control link to a host, speaker, or a member of your team who needs access to the live control moderation screen.
F – Participants: This tab will allow you to see all the participants taking part within the session. You will have the option here to select whose video is seen by the audience.
G – End Session: This is only available for the moderator and will end the session for all attendees.
For more information on setting up your live stream and going live, please see our additional support article here.
For more information on how you can use Glisser to increase attendance and reduce cost per attendee, please