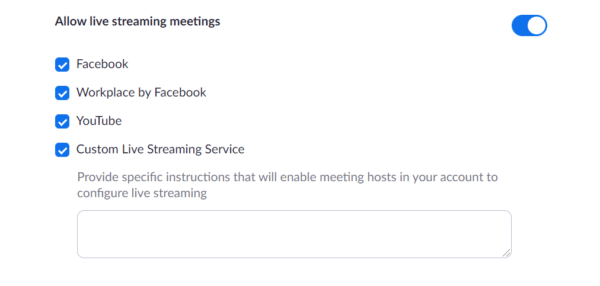
Scroll down to In Meeting (Advanced), click the toggle toward the bottom of the section to Allow live streaming the meetings.
Click the Custom Live Streaming Service checkbox to enable it.
Update the instructions (if necessary) within the text box so that the webinar organiser can configure the required settings when they schedule the meeting.
Once you’ve checked that this has been enabled you can begin the set up on Vimeo.
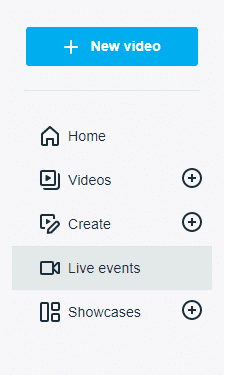
Log in to your Vimeo account and click on the New Video drop-down menu on the top right-hand side corner, and on Create live event.
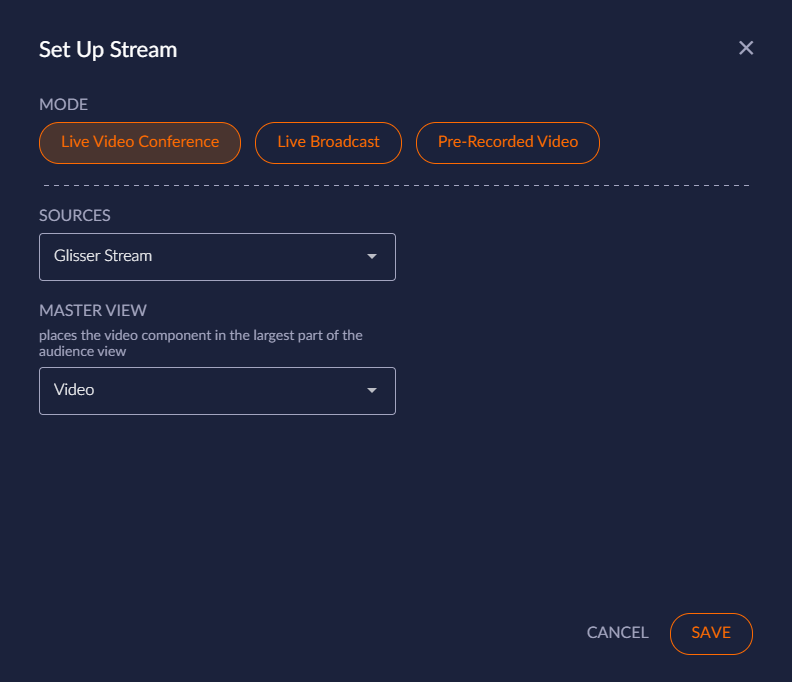
Enter your event details and your privacy settings, if you’d like your event to be private select the Hide it from Vimeo.com drop-down option. Choose either One Time (for a single non-reusable session) or Recurring (to be able to reuse the same set up e.g. for testing).
After clicking next, you’ll have three tabs appear allowing you to further customize your Livestream. The Onsite tab gives you some more privacy settings regarding Livestream location. Please note: the link at the top of the Onsite tab is not what you need to paste into your Glisser session.
The Embed tab is where you’ll find the code that you need to paste into Glisser. You can also customize your video stream view controls here (We’d recommend toggling Play bar, Volume control, Fullscreen button on as a minimum).
To embed your Stream into Glisser, click onto Event Embed Code to pull up the link that you’ll need.
You’ll only need to copy the specific part of the link between the two quotation marks (see image above). It should look something similar to https://player.vimeo.com/video/408388120.
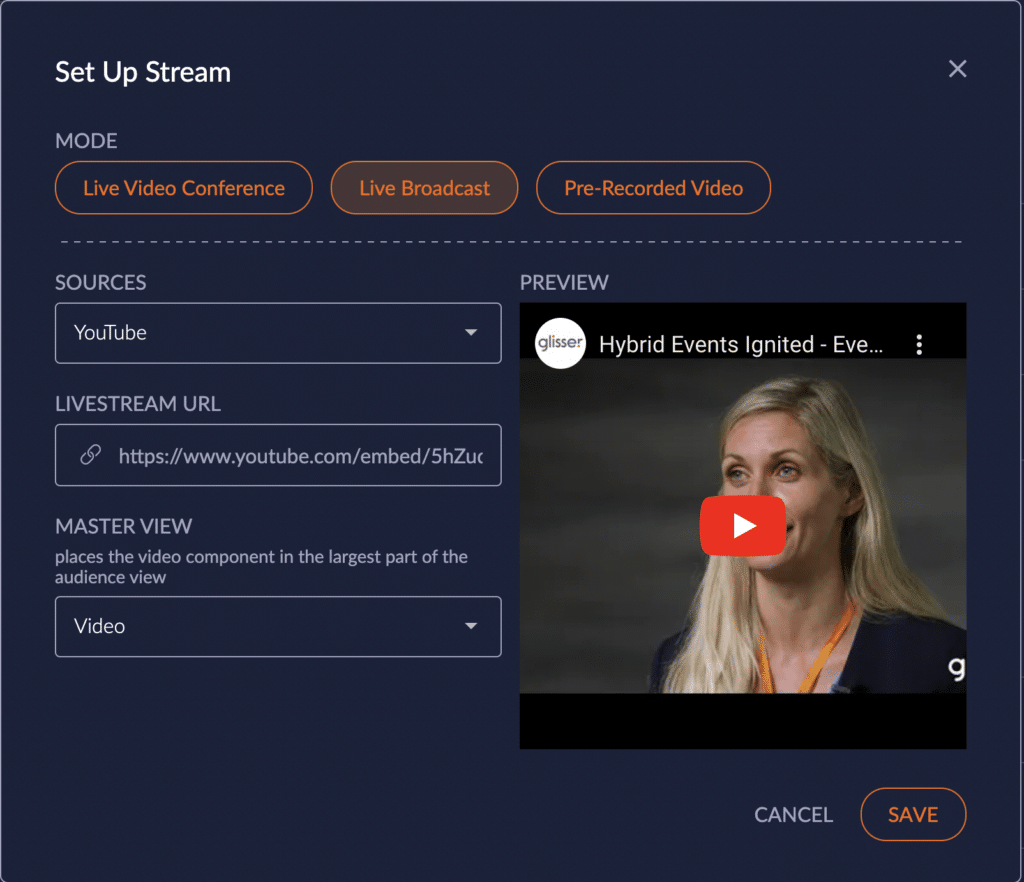
Head over to the Glisser session, choose Vimeo as a LIVE BROADCAST within the Livestream Settings Tab and paste your link in under Livestream URL. Now that your link is embedded into Glisser you can head back over to Vimeo to continue customizing your settings.
Continuing on the Embed tab, scrolling down will give you the option to customize your stream using your branding. You can add colors and logos to your video and choose how to display these.
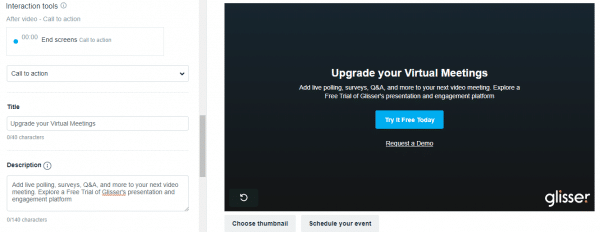
Scrolling down to the bottom of the Embed tab gives you the option for a call to actions right at the start or at the end of the stream. For example, you can link to a request for a demo page with a short description to appear at the end of the Livestream.
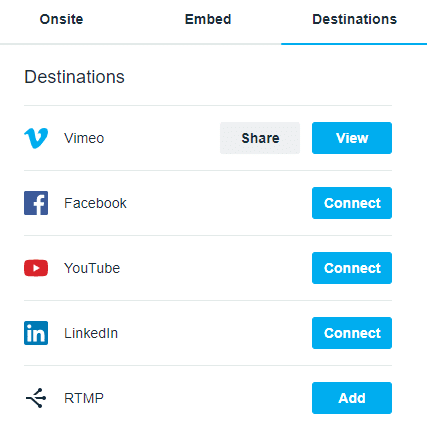
The Destinations tab allows you to connect and stream into various other platforms should you wish to, note that this step is not mandatory (connecting to Zoom will be outlined further on down this guide).
Once you’ve completed customizing your stream, hit the next button at the top right of the webpage. This will take you to the stream preview area. Click on the Connect (RTMP) tab above your stream preview. The below displays the keys you’ll need to copy into Zoom.
You’re now at the point where you can connect your Vimeo stream to Zoom. Follow the instructions below:
Click Schedule a New Meeting and fill out the required information to schedule a meeting.
Click Save to display a set of tabs with advanced options.
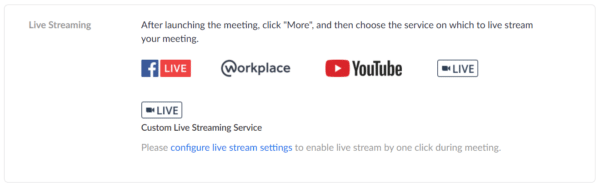
Scroll down then click the Configure Live Stream Settings button in the Live Streaming area.
Copy and paste the information from the Vimeo (Connect RTMP) tab into the Zoom Configure the custom live stream RTMP URL on Vimeo goes into the Streaming URL box on Zoom and the Stream key code on Vimeo goes into the Streaming key box on Zoom.
Your Zoom meeting is now connected to Vimeo. Open your Zoom application (or webpage) and begin your meeting.
Click onto the More menu (option to the bottom right with the three dots).
Head back into Vimeo to check the Stream has connected within the preview area.
You are now set to go! Hitting the red Go Live button will begin your stream. You may want to consider starting your session on Zoom and Vimeo before going Live on Glisser.
Zoom through YouTube
Running Zoom through YouTube is another method that allows you to integrate Zoom into Glisser.
Disclaimer: As a result of COVID-19, YouTube’s content review processes have been disrupted, it is possible for your stream to be taken down for “not supporting” YouTube’s Community Guidelines. You can find specific information about these guidelines in the YouTube Help Center.
The first thing you’ll need to do is check that Live Custom Streaming is enabled for your Zoom account:
Update the instructions so that the webinar organizer can configure the required settings when they schedule the meeting.
Start by heading over to your YouTube account. Click on the little video camera icon on the top right of your dashboard and select Go live from the drop-down menu.
Click onto the Stream option to directly link your stream or, the Manage area allows you to schedule your Stream – this will also be where all your upcoming Livestreams are stored. Webcam allows you to be a stream straight off of YouTube. See our YouTube support site article for details on how to stream straight from YouTube. We recommend scheduling a new stream on YouTube.
Fill out your stream details including Title, Streaming Privacy options, scheduling time and thumbnail upload. Please note that Glisser only supports “Public” or “Unlisted” streams. We recommend selecting “unlisted”. Click onto Create Stream when you’re ready.
You’re now through to the YouTube streaming dashboard. That’ll give you a streaming preview before you choose to go live. The streaming dashboard also provides the links that you’ll need to embed into Zoom (Streaming URL and Streaming Key).
Meetings
Sign in to the Zoom web portal.
Click Meetings
Click Schedule a New Meeting and fill out the required information to schedule a meeting.
Click Save to display a set of tabs with advanced options.
Click the Live Streaming tab, then click the configure live stream settings link
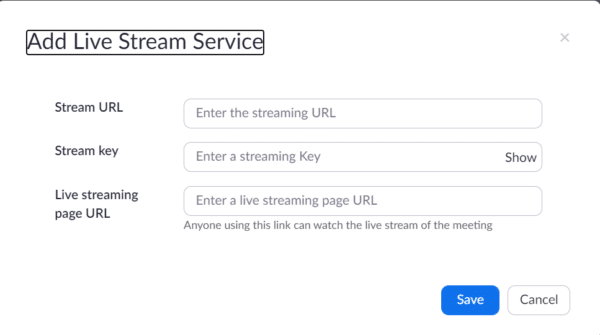
Copy and paste the information from the YouTube Livestream preview page into the Zoom Add Live Stream Service pop up: Copy Stream URL (paste in the encoder) from YouTube and paste into Stream URL from the box below, & copy Stream key from YouTube and paste into the Stream key box in Zoom (see below for Live streaming page URL).
Now you just need to paste the Live streaming page URL. Click onto the right-facing arrow beside the Go Live button.
Copy the Video Link and paste this into the Live streaming page URL. This is also the URL that you need to paste into the Livestream URL source in Glisser.
When ready to go live open your Zoom web or your Zoom application and begin your meeting.
Click onto the More menu (option to the bottom right with the three dots).
From here, select Live on Custom Livestreaming Service from the options that appear. This completes the link and opens the Live streaming page URL.
Now that everything is embedded, you can head back to the streaming dashboard on YouTube (just click onto your Livestream within the Manage section). You’ll notice that the Livestream preview in the top left corner will now display your Zoom meeting. The Livestream is now ready and Zoom embedded into YouTube. Select Go Live on the YouTube streaming dashboard and the Livestream will begin.
Before going live, present your session on Glisser to allow your audience members to access your URL and engage in your session!
The Presenter
The presenter will join the Zoom session and choose to:
Have Zoom open in the background and use the Live Control feature to control their slides, polls and videos.
Share their screen through Zoom > controlling their slide using a tool they’re comfortable with e.g. PowerPoint. If using this option, please note that you will need a controller on the Live Control to push any slides, polls or videos within Glisser.
The Attendees
When the session is live, the attendees will join via the URL as normal and the Zoom call will play through the chosen platform (Vimeo or YouTube). The attendees will be unable to speak directly in the call via audio but can submit their questions via the Q&A function.
How increase attendance and reduce cost per attendee?
For more information on how you can use Glisser to increase attendance and reduce cost per attendee, please