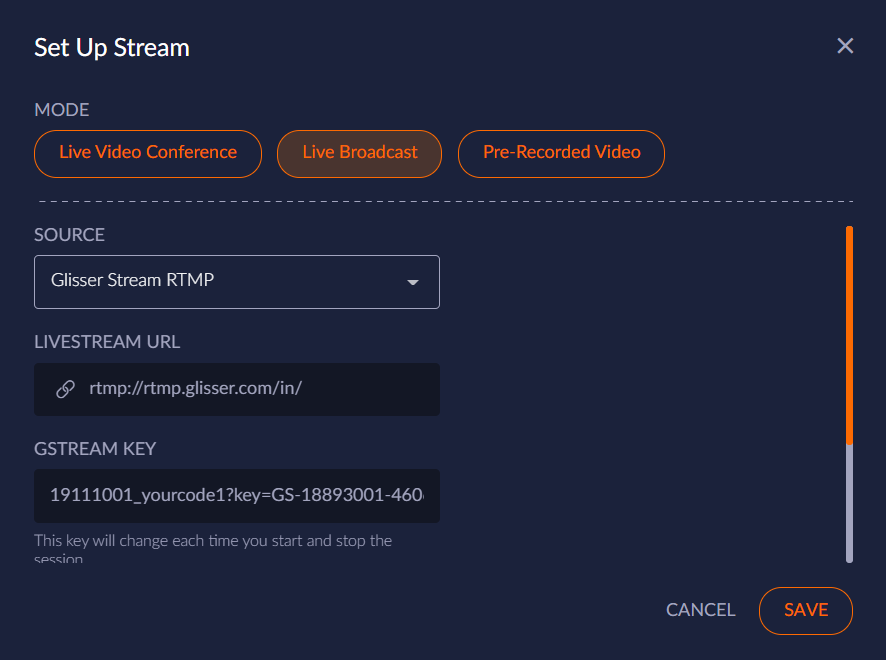
Within your session, turn on the Live Stream toggle in order to access the Live Stream Settings.
Select Live Broadcast as the Mode and then choose Glisser Stream RTMP as the source.
Scroll down to choose the Master View then select SAVE.
Please note: Each time you go live in Glisser the GSTREAM KEY will be updated for security reasons and replaced with a new key. If you plan on testing prior to the event please ensure that the new GSTREAM KEY is added to OBS Studio prior to going live. Additionally, if you stop the stream mid event, then you may need to replace the GSTREAM KEY and add the new KEY into OBS Studio to ensure your recordings are not affected.
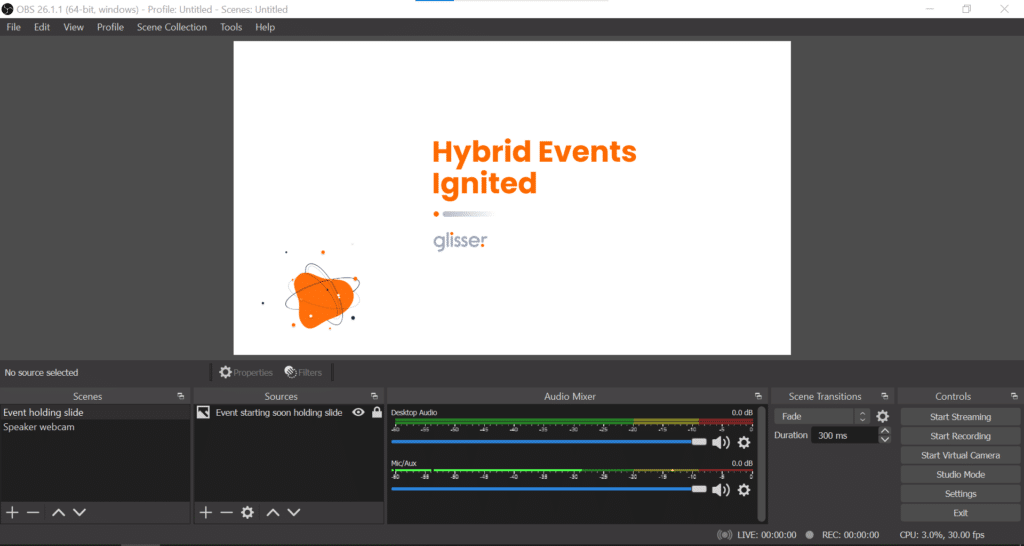
Connect Glisser Stream RTMP to OBS
Select Settings and click on Stream.
Ensure that Service is set to Custom…
Copy the LIVESTREAM URL into the Server.
Copy the GSTREAM KEY into the Stream Key.
Save your changes and head back to the OBS Studio main page.
Once you are ready to start the stream and record from OBS Studio, click on Start Streaming and Start Recording.
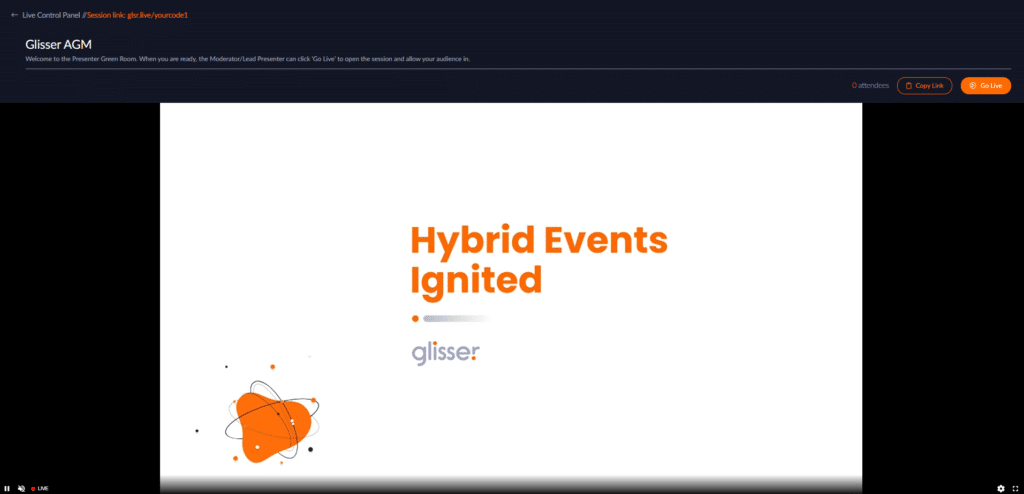
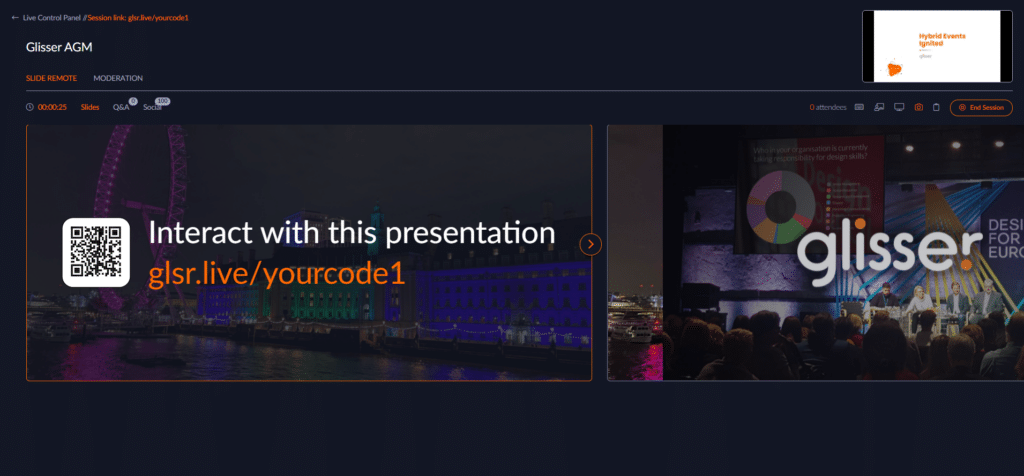
In Glisser, click on the Live Control Panel, to access the green room and check the live stream.
Once you are ready to go live, click on Go Live. Attendees can now join your session, and you will be taken to the Live Control Panel.
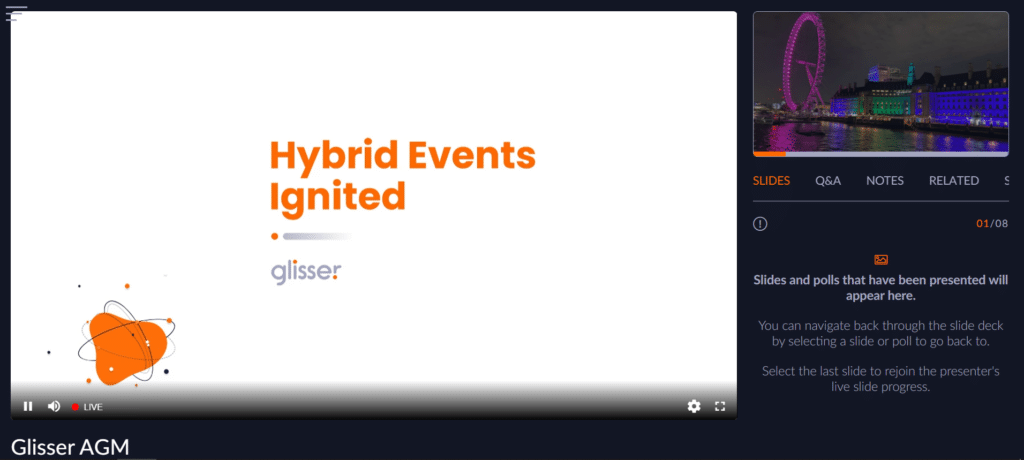
Manage your stream for the duration of your event through OBS Studio. Please note there is a latency between 5 – 15 seconds.
Once your event has finished, click on End Session in Glisser, followed by Stop Recording and Stop Streaming in OBS Studio.
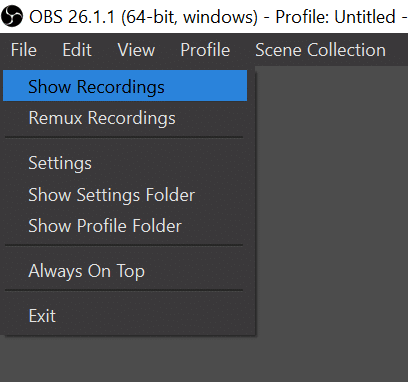
Download recordings
Your OBS Studio recording will be stored and saved dependent on your settings. If you have not amended your settings then this will likely be saved in your Video files as an MKV file.
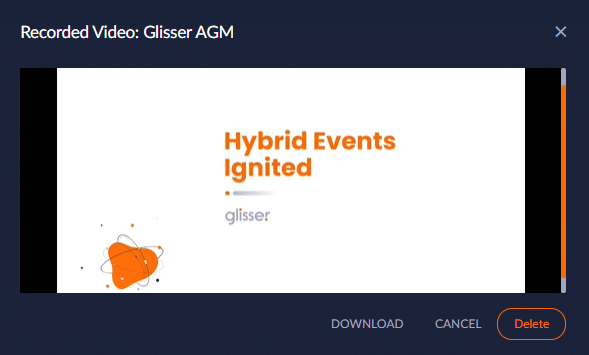
In Glisser, select analytics and select the session. There will be a play icon under Video. For more information on analytics see our support article.
Click on the play icon to view the video, download the video, or delete the video. The downloaded video will be saved as an MP4 file. If you choose to delete the video, this cannot be restored.
How increase attendance and reduce cost per attendee?
For more information on how you can use Glisser to increase attendance and reduce cost per attendee, please