Webinar with EY: Data Insights from Virtual Events

Virtual Events 2.0: Responsive Tactics to MarComms Strategy:

Book a Demo

Exporting Analytics Data

This article will show you how to export analytics data after your Glisser event.

After your presentation or event has finished you can export detailed audience data from the analytics tab. Click on Export within the appropriate presentation or event and you can choose to export the audience data in the following ways:

Export as CSV

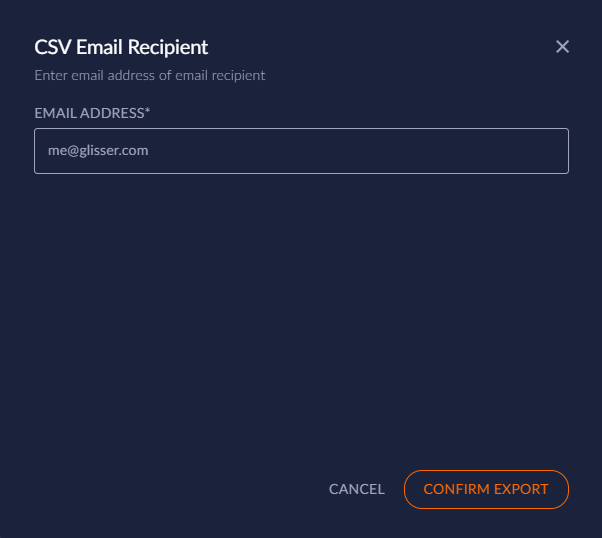
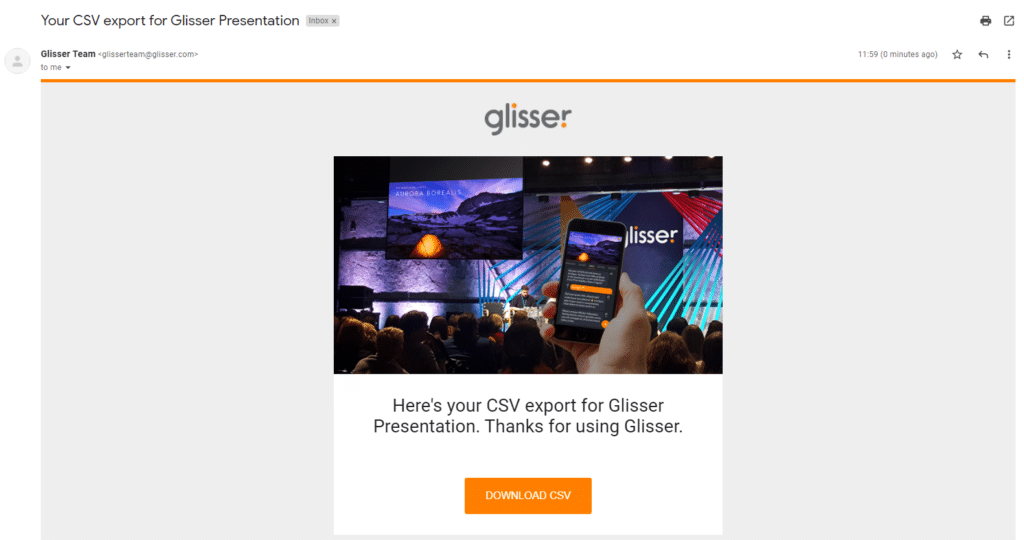
CSV’s are generated as an email, with a downloadable link. All you need to do is click on ‘Export As CSV’ on the right hand column of your Analytics tab and a downloadable CSV link will be sent to your registered email address or an email of your choice.

The email your receive will look like this:

Export to Salesforce
Salesforce Export Process

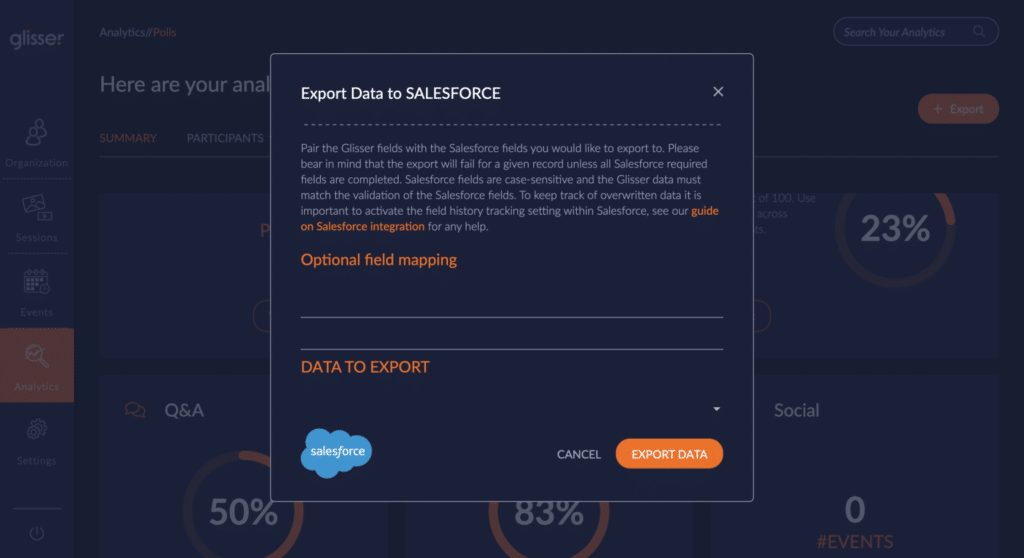
To export your Glisser analytics data to your Salesforce account:

  • Select ‘Analytics’ from the left-hand menu bar.
  • Select a presentation session that you’ve presented, and click on the right-hand tool bar to ‘View Analytics’.
  • Click on the ‘Export’ button and select ‘Salesforce’.
  • The first time you do this you will be taken to Salesforce to log into your Salesforce account.
  • Once your Salesforce integration has been authenticated, a modal (pop-up box) will come up. You have the option of adding a Campaign ID which will add each record to the Campaign you have specified as a Campaign Member.
  • You can now begin to pair any fields in Glisser with your Salesforce leads fields (please note that Salesforce labels are case sensitive so copying and pasting is recommended).
  • Once you have paired all the fields click on ‘Export Data’ to export to your Salesforce account under ‘Leads’.

Please bear in mind that if your Salesforce account has any required fields, you must select a Glisser field with data for each user for their data to be successfully exported. Also consider any validation you’ve set on your Salesforce fields (maximum field length, character type etc.).

Salesforce Field Update

When you export an object which already exists in your Salesforce account, any data in those fields will be overwritten. However, if you’d like to keep track of overwritten data it is important to activate the field history tracking setting within Salesforce.

Exporting Glisser Polls to Salesforce for analytics:

For any polls you’d like to export to Salesforce, to ensure their data is exported successfully please make sure that:

  • All polls are set to mandatory to allow for you to capture consistent information from your delegates
  • The types of poll you choose for each question are consistent with the same type of form field in Salesforce:
    • Salesforce Text Field <> Glisser Free Text Poll
    • Salesforce Date Field <> Glisser Date Picker Poll
    • Salesforce Picklist Field <> Glisser Opinion Poll (ensure multi-select answer is unchecked)
Export to HubSpot

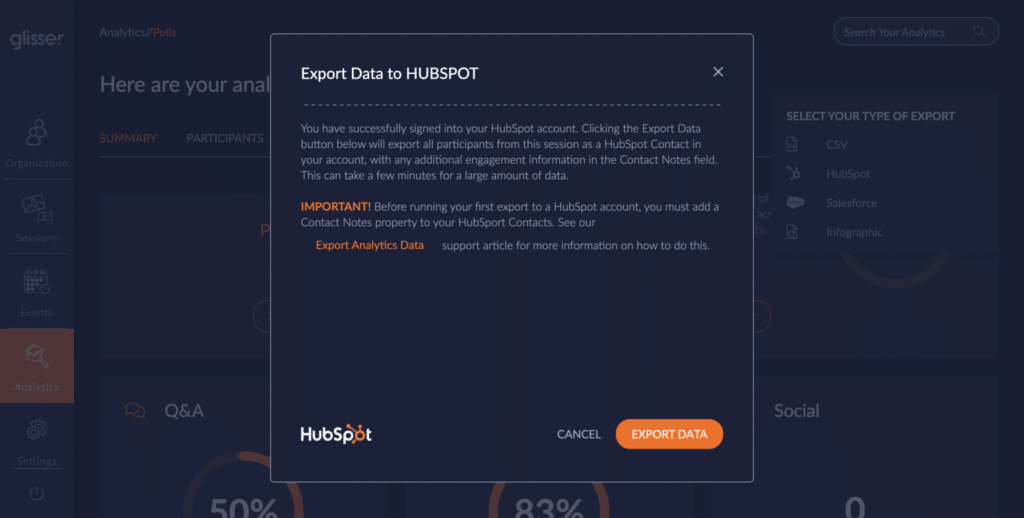
IMPORTANT! Before running your first export to a HubSpot account, you must add a Contact Notes property to your HubSport Contacts. To do this:

  • Sign into your HubSpot account and select Contacts from the menu https://app.hubspot.com/contacts
  • Click the Actions button and select Edit properties
  • Click the Create a property button
  • Enter Contact Notes in the Label field (the Internal Name field will populate with contact_notes, it is important that this isn’t changed)
  • Click the Create button

Exporting to HubSpot will need you to authenticate your HubSpot account via Glisser. It will then export all participants of a presentation as a HubSpot Contact in your account, with any additional engagement information in the Contact Notes field. Note that if the participant already exists as a contact in HubSpot then any engagement information will be added to the Contact Notes field of the existing HubSpot contact.

If there are any issues with the export, it could be because of the following:

  • The HubSpot account you authenticated with does not have the Contact Notes field setup as above.
  • The Glisser presentation or event you tried to export does not have ID Capture set to email. Only participants with email addresses will successfully export to HubSpot.
  • One or more of your participants did not enter a valid email address, which have been declined by HubSpot’s validation process.

How increase attendance and reduce cost per attendee?

For more information on how you can use Glisser to increase attendance and reduce cost per attendee, please

How increase attendance and reduce cost per attendee?