June 30 Webinar: Crafting the Ultimate RFP for your Webinar

June 30 Webinar: Crafting the Ultimate RFP for your Webinar
In July 2018, YouTube changed the way in which users access being able to embed live streams hosted through their service. In order to place your YouTube live stream into the Glisser LIVE platform, you now need to take extra steps if you previously did not have a YouTube live streaming enabled account. Those that had enabled their YouTube account before July 2018 should not be affected.
If you have not already live-streamed from your YouTube account, you will need to enable this function. To do this, go to https://www.youtube.com/live_dashboard_splash. You will be taken to the YouTube Studio. Click on the Enable red button.
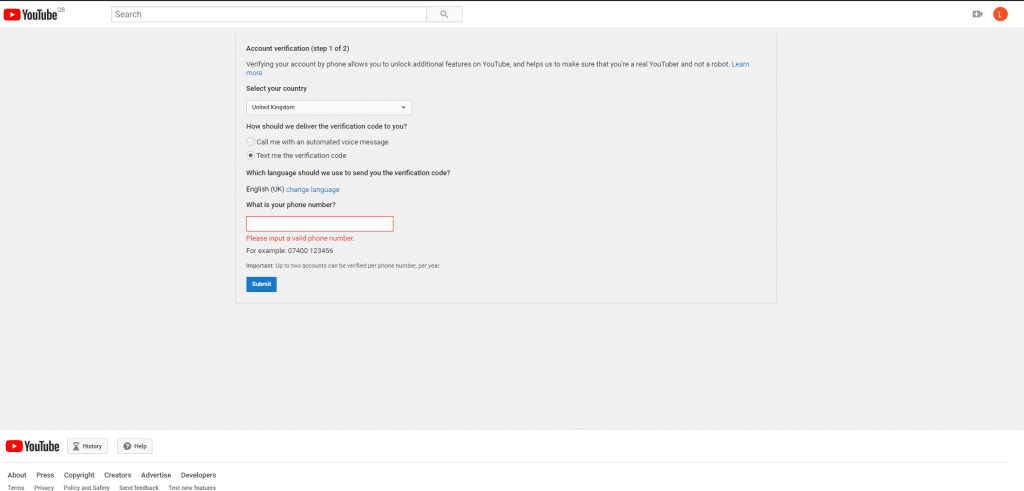
You will then be asked to select your country and enter your phone number so a verification code can be sent to you. There is a limit of two live-streaming YouTube Accounts per phone number.
Once you submit the code sent to your phone, YouTube will begin the process of enabling your account for live streaming.
Please note that YouTube requires 24 hours to activate your account, so make sure you allow adequate time.
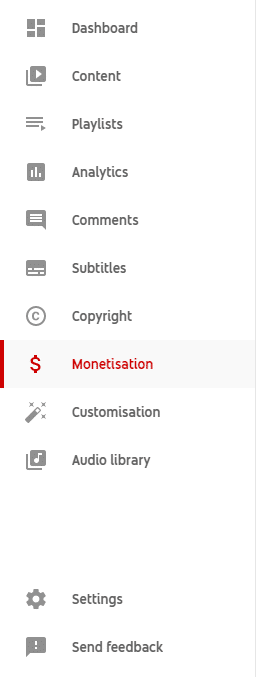
Once you have successfully enabled live stream, you can begin the process of monetizing your account. To do this, go to http://www.youtube.com/features and click Enable in the monetization section.
Please note, to enable YouTube channel monetization, and to get into the YouTube Partner Programme, your channel needs to have 4,000 public watch hours from the last 12 months, and 1,000 subscribers.
You will be asked to complete a four-step process:
The YouTube Partner Program Terms is a standard T&C plus an agreement to not monetize content you do not possess the full rights to.
When signing up for AdSense, make sure to use the same email account that is associated with your YouTube live stream. You will be prompted to select whether you want to receive optimization emails and then asked for you country. Based upon your selection, you will be given AdSense’s T&C agreement.
You will then need to provide information about the type of AdSense account you need (if you are a school, partnership, organization, or other business the account type should be set to “Business,” if you don’t fall into that category, it should be set to “Individual”).
Finally you will be required to enter a billing address. You will not need to enter any further billing information at this time.
After the AdSense information is completed, you will be redirected back to step three of the monetization process for YouTube. There you can select what type of ads you’d like to have alongside your video (e.g. skippable ads, ads on the side, ads that play through at the beginning of the video, etc.).
The final step of the Monetization process does not need to be completed in order for you to embed your live stream.
Please note that this process can take time. While AdSense says it shouldn’t take more than 24 hours, we have had users experience much longer waits, so please allow time for this as part of your planning process.
If you still cannot embed your live stream after taking these steps, you can contact YouTube support on https://support.google.com/youtube/answer/2474026
For more information on how you can use Glisser to increase attendance and reduce cost per attendee, please