June 30 Webinar: Crafting the Ultimate RFP for your Webinar

June 30 Webinar: Crafting the Ultimate RFP for your Webinar
When handling client information, security is of great importance, and Glisser provides multiple layers of it.
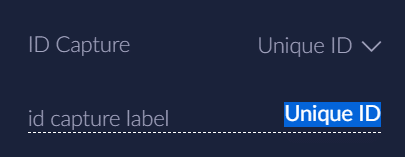
Under Data Security, the presenter will see these options listed. They are as shown in the image below:

ID capture enables you to collect the ID of all of the delegates in the form of an email address or unique ID, when delegates sign into the account.
As an alternative layer of security, you may wish for your delegates to enter a pin, in addition to their email address to enter a session or event. This pin would need to be shared before the event by the event organisers to ensure delegates can enter if it is a virtual event; or at the event itself if it is an in-person event.
To set a pin:
The entry list allows you to choose specifically who may attend your event. Any delegates that do not have access will be informed that they enter. Please see our entry list support article for additional information.
Enabling Audience Consent permits an event planner to request that a delegate agrees to the terms and conditions upon entering the session or event. This provides you with security, ensuring no data is copyrighted. You may add up to seven audience terms for delegates to approve or deny.
To enable audience consent:
For more information on how you can use Glisser to increase attendance and reduce cost per attendee, please